Social Media Sermon Clips - Premiere Pro Editing Walkthrough
Introduction
In this video, I'll walk you through my entire process for editing sermon clips for social media using Premiere Pro. This tutorial is designed for our church team, but many others expressed interest, so I'm sharing it here. I'll guide you through the steps of creating social media clips from sermons, which include cutting, cropping, adding captions, and incorporating music.
Step-by-Step Editing Process
Step 1: Cut
First, I start by downloading all necessary files from Dropbox, including footage, Premiere project files, renders, and thumbnails. I open the existing Premiere file to keep everything in one place. For those using DaVinci Resolve, create a corresponding project file in the same folder.
Step 2: Crop
Next, I ensure my keyboard shortcuts are set for efficient editing. Q and W are used for ripple trims, S for ripple delete, and X for adding edits. I then create a new sequence for reels with a vertical format (1080x1920) and copy the sermon footage into this sequence. I cut the clip according to the notes provided, adjusting the timeline to ensure a smooth flow.
Step 3: Captions
For captions, I switch to the captions workspace in Premiere Pro. I generate a static transcript for the in-and-out points of the selected clips. Then, I create captions, setting a maximum length of 22 characters and choosing a single line format. I edit the captions for readability, changing the font to Montserrat Black and aligning the text in the middle of the screen.
Step 4: Music
I choose suitable background music from Soundstripe, a platform offering a variety of tracks. I download the selected track and import it into Premiere Pro, adjusting the volume to ensure it complements the sermon audio without overpowering it. I often opt for music with an emotional tone to match the sermon's message.
Adding Final Touches
With the basic editing complete, I enhance the clip by adding punch-ins for emphasis and incorporating relevant stock footage. I use Auto Reframe to keep the subject centered, making manual adjustments as needed. Additionally, I highlight key text in the captions using different colors to draw attention to important points.
Exporting the Video
Once satisfied with the edit, I set the in-and-out points and export the video. I use a custom export preset for reels, ensuring the video is optimized for social media. I make sure to burn the captions into the video and apply a LUT for accurate color representation.
Conclusion
Editing sermon clips for social media involves several steps, but with a systematic approach, it becomes manageable. By following these steps, you can create engaging and polished clips that effectively communicate your message. If you have any questions or need further assistance, feel free to reach out.
Want Free Training and Resources for your church?
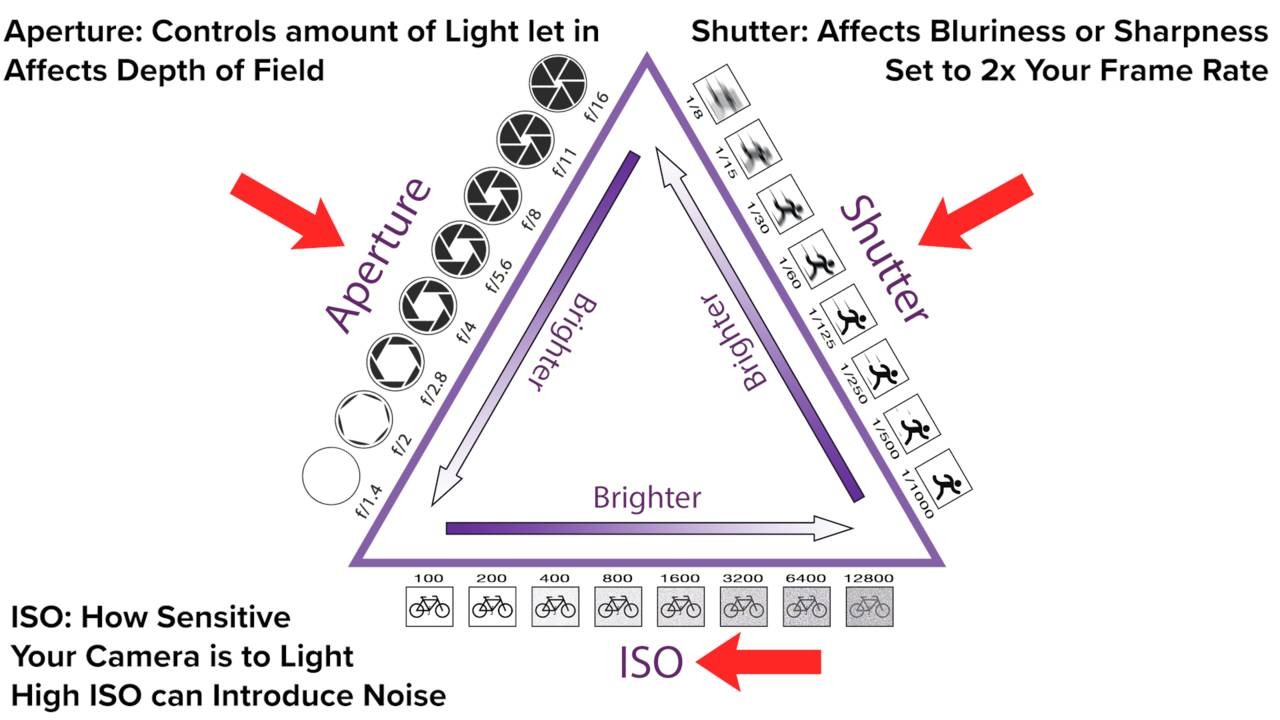
Free Perfect Exposure Mini Course
If the videos you shoot are too bright or too dark and you're not sure why.. learn the secrets to nailing exposure every time you shoot.
Church Video Made Simple
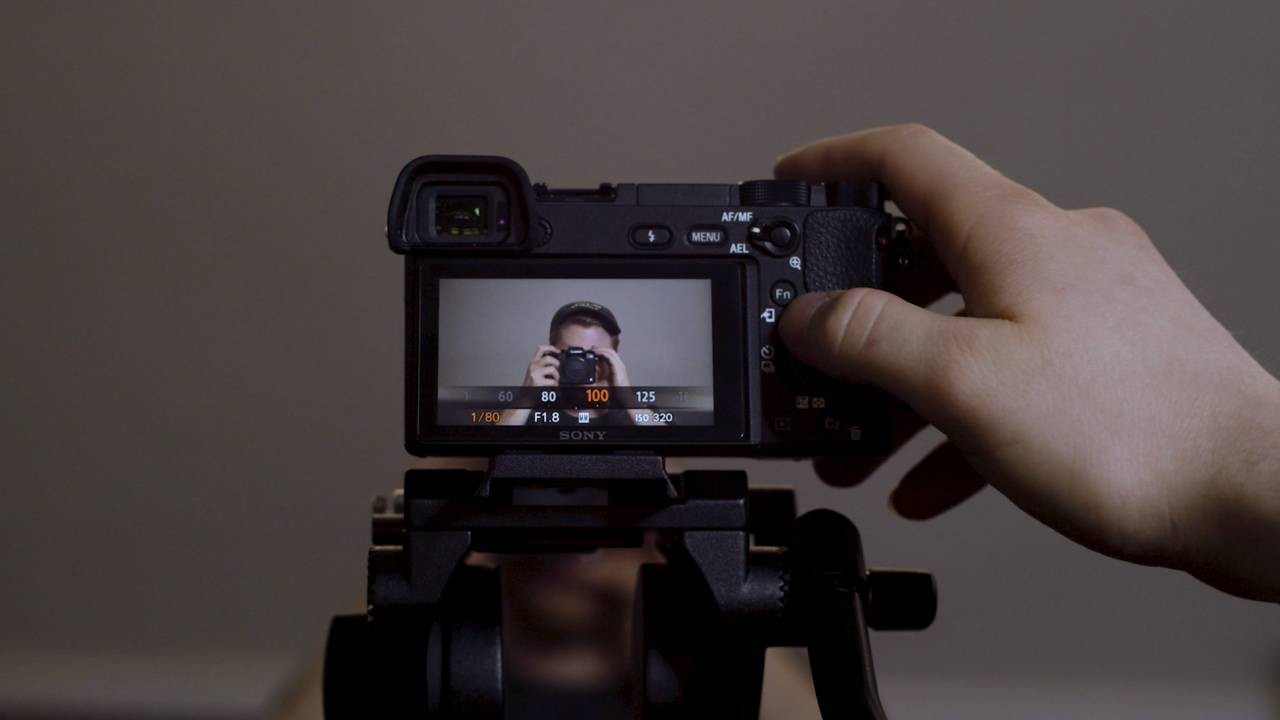
Struggling to understand your camera or not sure why the videos you shoot don't look good?
We take the difficulty out of learning camera settings, so you can start shooting high-quality video in no time.
